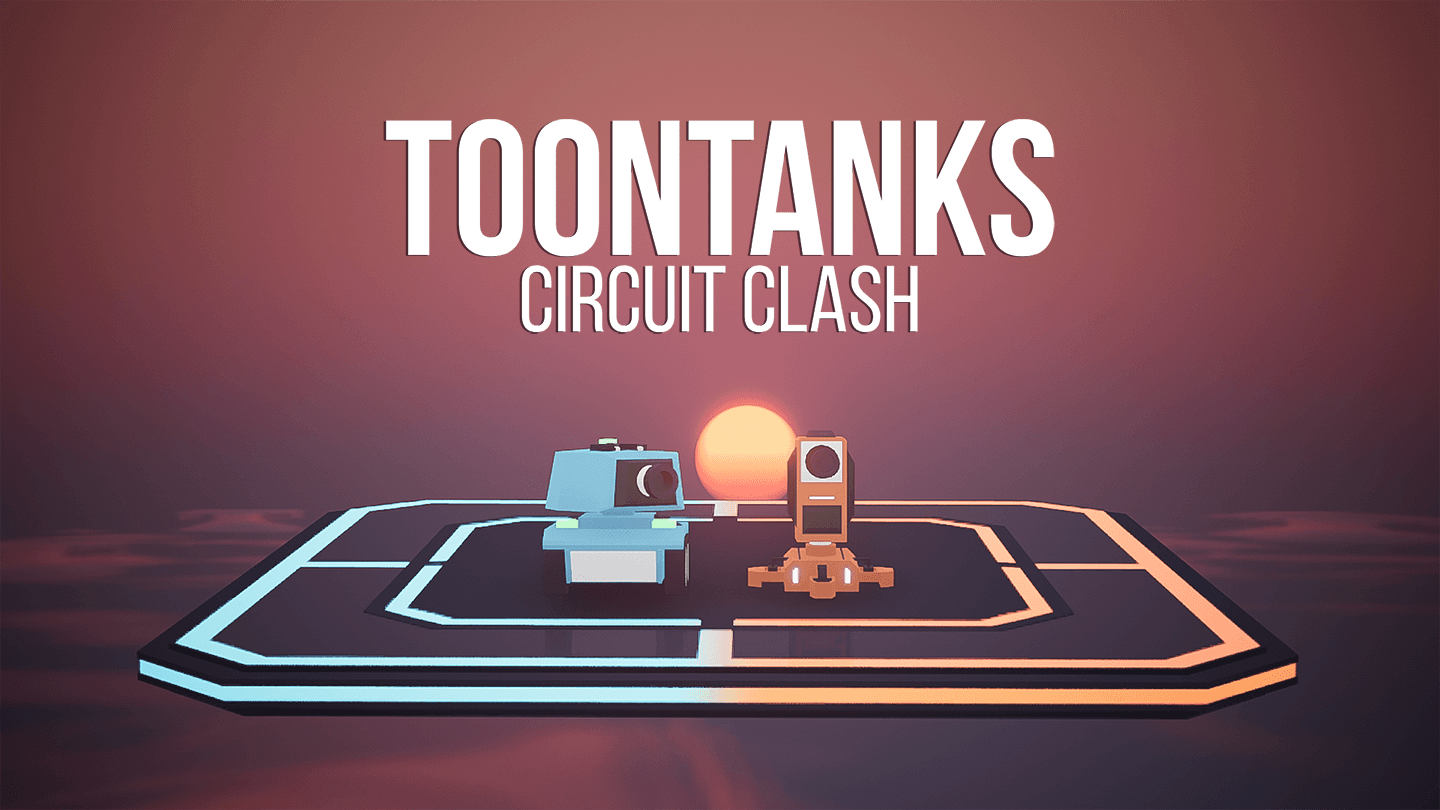
Toontanks: Circuit Clash - Postmortem
Development of my first game in Unreal Engine 5
Software engineer interested in game development, computer graphics, C++ and technical art.
Over the last couple of months I've been learning Unreal Engine 5 and I made this game by extending a course project by gamedev.tv. This was really fun and I learned loads.
If you would like to try out the game or watch the trailer, you can do so on itch.io:
I'd like to go over some things I have done. Let's get into it.
Movement
My first additions were to make the tank able to move on slopes and have fake gravity that kills the tank at 'terminal velocity'.
For the gravity, I made a separate gravity component that traces a line downwards from the tank to determine whether the tank should be falling at an accelerating rate or to snap its position to the ground.
For the slopes, I used another trace, starting just ahead or behind the tank, depending on which direction it is moving, that points downwards. The hit point is then used to determine the slope angle with which to rotate the tank.
Because the game has moving platforms, I've also made all moving objects implement a moving ground interface that returns a moving velocity. That way, the tank will not fall off moving objects and move in sync.
Turret Sight
I sought to make turret behavior more dynamic in response to the environment. I implemented logic for turrets to only open fire when there were no obstructions blocking their line of sight. Additionally, I programmed turrets to deactivate if the tank ventured beyond their maximum shooting range.
Projectiles, DamageType and Status Effects
To add depth to the gameplay, I introduced three distinct projectile types: Fire, Ice, and Electric. For each projectile, I created separate damage types to distinguish between the sources of damage. To make the visual effects engaging, I needed to create new particle systems and establish a method for triggering them on other pawns.
Hence, I made an effect base class and a status effect component. The status effect component would be added to the actors that wish to display status effects. It took charge of managing these effects, while the effect base class handled the effects themselves, including their lifetimes and any side effects. Each specific type of effect extends the base class to spawn the required particles, sounds, or apply material overlays.
To tie these elements together, I created an interface to connect the damage types with the visual effects. Each damage type implements this interface, facilitating the spawning of the appropriate effects on an actor, provided it has the status effect component.
The status effect component validates and stores these effects, preventing nonsensical combinations, such as having both ice and fire effects active simultaneously.
Niagara Particles and Effects
The particles that were provided in this course were made with Cascade but I wanted to learn how to make particles myself and learned a bit of Niagara. There is a great resource on Youtube if you look for CGHOW.
I have remade the same particles in Niagara as well as make new ones for ice, fire, electricity and various explosions, bursts and glows.

You can see below the projectile effects in action:
The fire projectile also deals radial damage:
Toon Shader
For a more cartoony visual style, I utilized a post-process material. This material works by reducing the smoothness of transitions between lit and shadowed areas on objects. While I won't delve into extensive details here, a helpful video guided me through the process.
Projectile Inventory
The tank now needs a way to store and switch between these new projectiles. The inventory is quite straight forward. I made a projectile inventory component to store an array of projectile IDs and exposed methods to retrieve, populate and equip the projectiles.
I've added new inputs to switch between projectiles with the mouse wheel and the numpad. The tank or the turret will just fire the projectile that the inventory is currently marked as equipped.
Asset Manager and Primary Data Assets
As the project expanded, I considered ways to better organize assets. I noticed that many of my blueprints shared similar functionalities but different data. Although using these specific blueprints seemed easier, I explored the potential of an Asset Manager. While my implementation may not be the most optimal, it provided insights into how it works.
Everything in Unreal is a secondary asset, except for Maps. But each asset can implement a function to get its asset type and ID that you can register in the Asset Manager. This is useful if you want to get control over how these assets are loaded or cooked. At least that's how I understand it.
I've made base primary asset types for effects and items. Items consisting of health drops and projectiles. While my blueprints are still holding all the data, the primary assets hold the metadata, i.e. information about the asset, like a thumbnail for the UI, a name, effects that should not go together etc. And of course the actual asset. There are probably better ways to do this but this is what I ended up with.
For now, I am loading these assets on startup, I suppose I could come up with a more optimized way, but these assets do not take up much space and they are quite frequently in use. I do not really want the game to hitch upon first shooting a fire projectile, which would require the particle system to be loaded at once.
What I gained from this is a nice way to reference my assets. Just using the type and the ID of the asset, I can load it and use it wherever I want. This also means that I just pass and hold an FPrimaryAssetId for my effects, inventory, projectiles and pickups. And it's quite easy to make a console command with the cheat manager to give myself these assets for debugging.
Pickups
Now the tank needs a way to acquire these assets in the game. I made projectile item and health boost pickups that get dropped after an actor dies. The actors that want to drop items need to implement a drop item interface, returning the items to drop. The game mode, upon receiving a dead actor, should then decide whether to drop it and how. I've made it so the game can help you out if you are critically running low on health and drop one health boost automatically.
When a pawn picks up an item, it just triggers an event and each pickup will know where to pass the FPrimaryAssetId it holds.
Meshes and LOD
I was planning on using the marketplace but I couldn't exactly find what I wanted. I found one sci-fi spaceship model that had these hexagonal tiles but they didn't fit the style I wanted. So I just made the platforms myself first and then the rest followed, kind of evolving into a synthwave PCB style.
One thing of note, though. The platforms, when connected, make these holes in the corners. Instead of holes, I wanted there to be lights. And that required me to basically add planes in the corners for each platform, depending on how they connect. I didn't want to do that, so I made a hierarchical static mesh in one corner, and I made instances of it rotated by 90 degrees based on which bit is set in a bitmask variable exposed to the blueprints.
I didn't make an LOD mesh for each model as I was kind of hoping to use the Nanite feature. But surprisingly, half of the people that tested my game had laptops that did not support DirectX12 and SM 6 required for Nanite.. So I just reduced the triangles for each LOD within UE, which I found to be quite okay. I mean, the meshes are not that complicated anyways.
UI
Main menu
I've actually remade the UI several times, it was kind of my go to side of the project when I was stuck on other things..
Honestly, I am not a big fan of UMG. Thankfully there's the Common UI plugin that helps a bit. At least, I was able to set up common styles for the various UI components and while I didn't really use its input routing features, it was useful to organize the widgets a bit and switch between them.
HUD
Health bar
Equipped Projectile
Projectile Inventory
- Level indicator
- Saving notification

Loading Screen and Slate
Apparently, there's a very poorly documented way to show a loading screen between loading the maps. Using the MoviePlayer, it's possible to display widgets or movies and it supposedly works on a separate thread. By binding to on start loading and finished loading map events, it is quite easy to set up.
The problem is that UMG widgets will not tick. So it's not possible to display animations this way. Only way is to use Slate. Which I did. It's not very well documented either but I used an example of TestLoadingScreenWidget and SThrobber to come up with a simple Slate widget that overlays two brushes, of which the second one is spinning. That's all I needed to create this loading screen once I fed the bottom and top parts of the tank as images. I think it looks neat. :)

Settings
For settings I made a custom UserSettings class for Brightness, Gamma, Game Difficulty and Level Streaming.
Game difficulty is essentially a primary data asset that holds multipliers for damage. It is loaded and stored by the game mode and accessed when damage is being dealt. The setting changes which configuration to load.
Brightness and gamma are Post-Process Volume settings. I made a data asset to store the post process settings separately and the game instance takes care of spawning the volume and setting it up with the data, as well as overriding it with new parameters. This way the post process effects remain everywhere.
Level Streaming enables streaming of one level at a time to optimize memory usage.
Level Streaming
Initially I made everything in a single map. After finishing the six levels, I noticed that it had a bit of a performance issue when the player looked at far away meshes. Using LODs made it okay and my game still runs over 80fps most of the time.
I tried to separate the levels into sub-levels in order to load them when needed but because I kind of relied on being able to see the whole map at all times when building the levels, it didn't make much sense.
I split them anyways, triggered them with level streaming volumes and separated the environment with lighting into a separate sub-level as a lighting scenario and made an option in settings to load the levels one by one if that could help with the performance.
Factions and Level Manager
Initially, to win the game, the player needed to defeat all the turrets in the game. It didn't quite make sense because of the way I designed my levels. What if the player misses one turret at the start of the game and needs to go back? It's not exactly hard to run through to the end avoiding all turrets either.
So I made these sub-levels or platforms that you have to capture before being allowed to progress further. When all turrets on that platform are destroyed, the whole sub-level turns blue and a moving platform connected to the next sub-level is unlocked.
To do that I made a base faction actor, which implementd a change color interface. Now I just needed to set off the event. Each sub-level has a faction level manager actor that knows which sub-level it is, how many turrets are in this level and which faction owns it. When all turrets are destroyed, it informs the game mode, updates the state and changes the color on all actors that are able to do so.
Saving
I wasn't even planning on making a saving system to be honest. It was kind of supposed to be one life, one try game. But my friend testers did not like that at all.. And it was a bit awkward to implement saving at the end of the game development, a note to my future self, I guess.
I made two SaveGame classes, one for the game and one for the player. Each would hold a struct with the relevant variables to be saved and would implement a save and load interface methods. Save method would get all the relevant data from actors, and the load method would set them.
This approach consolidated saving logic, preventing it from scattering throughout the codebase. The game save was loaded by the game mode, preserving map data, sub-level states, and player spawn locations. The player save, on the other hand, was managed by the player controller and stored inventory and equipped items. This enabled seamless movement between maps while retaining inventory and progress.
Final Thoughts
There are probably more things I didn't mention but you can find the whole project and the source code here. This being my first game, don't expect it to be the state of the art production quality but that's why I would love to get feedback. I'd really appreciate it!
I'll be making more games in the future so follow if you are interested!